A few tips on keeping your camera steady.
Tag Archives: how-to
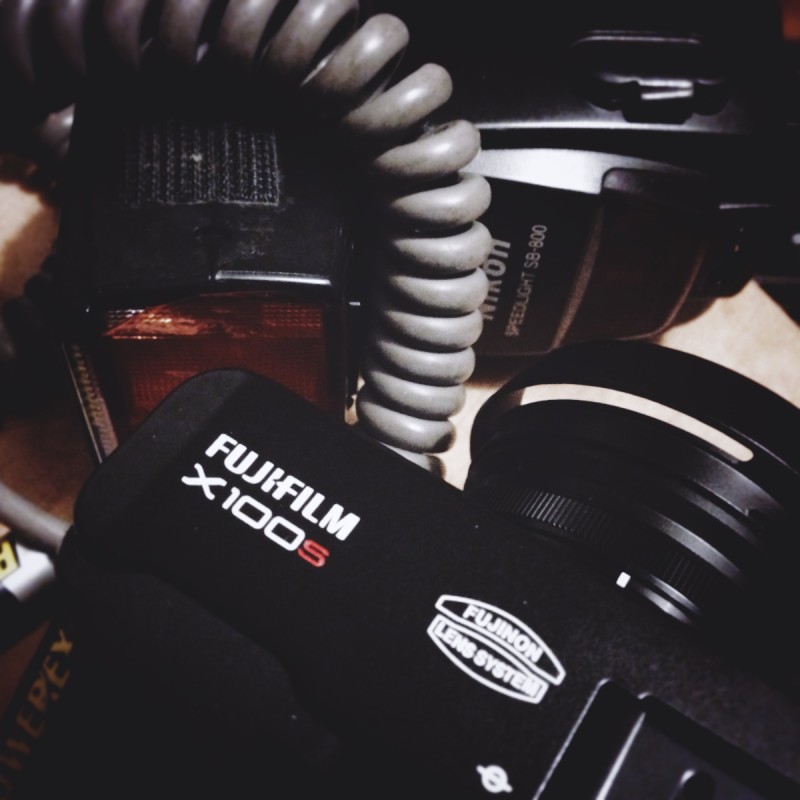
Fujifilm X100S with a Nikon SB800
Is it possible to use these two together?
To filter or not to filter…
You never know when or where or why a discussion about lens filters will pop up, but one thing you can count on: Strong, long-held, unmovable opinions… for and against. “I would never put a cheap piece of glass between my high quality lens and my subject.” “You’re crazy not to take that extra step to protect your expensive high quality lens!”
When I first started out I was influenced by the “protect the lens” camp. It just made sense to take every precaution against damage to the front element of my lenses. I always used a lens hood, my lens cap (when I wasn’t losing it!) and always had a decent UV filter attached. Because, you just never know.
Later on I started to lean more towards the “nothing comes between my lens and my subject” camp. I saw big name photographers walking around with the most expensive glass in the world with no filter of any kind! Most of them were content to rely on the lens hood for protection. Up until fairly recently, I’ve remained in that camp. No cheap glass over my quality lens. I came to take for granted that if you put another piece of glass in front of the lens it’ll degrade the image, even if by just a small amount.
As mentioned above these conversations can manifest anytime, anyplace. As like the other day over at Burn Magazine. After reading a few comments, and being the scientifically minded person I am, I decided to do my own obvious experiment. Something, inexplicably, I’d never done before. Take two identical photos, under identical conditions and compare. (what a novel idea, I know!)
I made the photos. One filter on, one filter off. (BTW, I used a B+W UV filter) Brought the images into Lightroom, blew them up to 100% and… I could discern no difference. I toggled back and forth several times. First slowly then more quickly and there was just nothing that stood out. No degradation that I could tell with my own naked eyes.
When I first thought to make this post, I thought for sure I’d post the images so you the reader could download and do you’re own comparison. But now I honestly think it’s best that if you want to know for sure, if you really want to challenge your own current thinking, you should do you’re own experiment. It’s easy and costs nothing. Now, there are good quality and not so good quality filters out there. So that has to be a consideration.
Personally, I still think I’ll use filters sparingly. When on a job site (with lots of dirt) or at the beach with sand and salt blowing around, I’ll keep the UV filter attached. There is the issue of flare, but that’s easily seen when it’s happening and you can just remove the filter. Or, as some do, take advantage of it for effect.
The UV filter has its uses, for sure.
But if you decide go the route of the purists (no filter ever!) you’d be wise to at least use the lens hood, and if you can keep from losing it, your lens cap as well. Except when you’re shooting, of course. 🙂
Fuji X100S, 50mm teleconverter?
Just learned today {via Fuji Rumors} that a 50mm teleconverter is coming soon to a B&H warehouse near you! I expect many hope to be soon strolling city streets the world over, doing their best Cartier-Bresson impression, with a small bag packed with their X100S, a 28, 35 & 50mm kit. And hoping desperately a 90mm converter is not far behind. And why not? Sounds good to me!
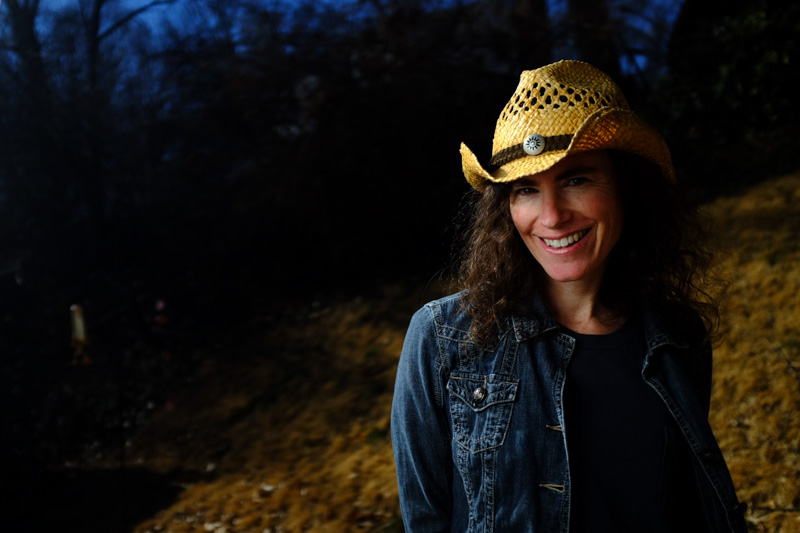
This little beauty is Tamsyn. She is pure sweetness.
The X100S kept up with her with no problem. Quite responsive, and wonderful files right out of camera. Yes, JPEGs. Film simulation was set to [Ns] Pro Neg Standard.
RAW + JPEG in Lightroom 5
A recent discussion with a photog friend sparked this post.
Ever wondered why you could never see your JPEG files after an import into Lightroom? I mean, you shot RAW + JPEG, right? You loaded the card with both the RAW files and the JPEG files into your card reader, right? And you imported the entire card, right? So where are those JPEGs?
Turns out it’s an easy fix. (At least from this point forward.) There is a toggle to check in Preferences, but by default Lightroom leaves it unchecked.
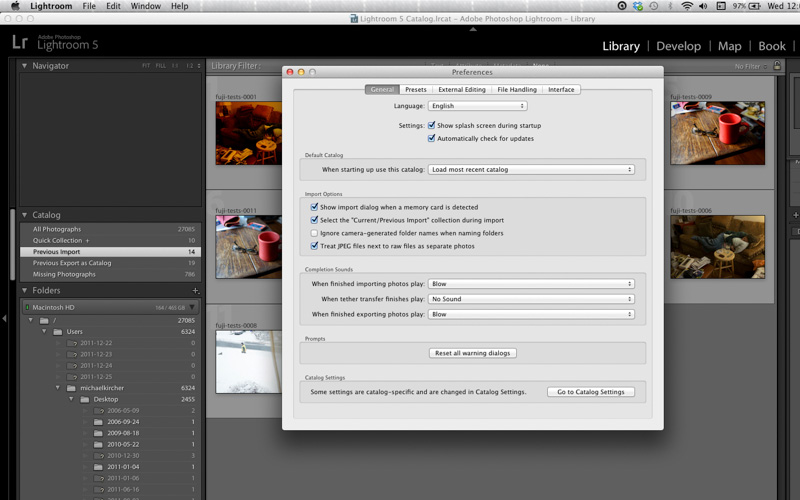
When you’re in Lightroom, up in the left hand corner, click on the word “Lightroom”, then click Preferences; on the General settings page you should see Import Options, under that is “Treat JPEG files next to RAW files as separate photos.” Check that box. You’re done. (Screenshot below:)
Now, should you do this? Well if you have a ton of space on your HD and you truly feel a need for it, meaning you can shoot quality JPEGs and plan to do minimal post production but want the RAW file just in case, then sure. But I can’t see doing that too often. For me, I’d rather shoot one or the other. Most often RAW, of course. But there are occasions where I’ll shoot straight JPEGs and be done with it.
In the end it’s a personal choice. If I’ve missed a truly compelling reason to always shoot RAW+JPEG, please let me know in comments.
Cheers.
Fuji X100S Review
{This is in no way the most comprehensive review of this camera you can find. For that you should check out David Hobby and Zack Arias and Kai Wong. What follows is simply a first impression type of review after a few days usage. No pixel peeping or tech talk is used…well, not excessively anyway.}
The Fuji X100S is like a nineteen-sixties era Porsche 911. A small, yet sturdy high performance machine in a beautiful body that’s a challenge to master. Just because you can buy one doesn’t mean you can drive one. Sure, you can get from point A to point B. But you can do that with any car. You don’t buy a 911 to go to the grocery store. The 911 is built for a different purpose. Same with the X100S. It can be quirky and a little temperamental, but sticking with it, overcoming the quirks, is well worth the effort.
This camera is a sexy machine. It looks good and feels good. I love its light weight and its quiet shutter. And as many others have pointed out the all black model helps make it that much more unobtrusive. People either don’t notice it or don’t think much of it, which means it’s easier now to get those unguarded and more natural moments.
The out-of-the-camera JPEGs rock! There is a seriously nice look about them. This is important if you’re going to use the camera’s film simulations (Velvia, Astia, Provia, B&W, Sepia). If you’re strictly a RAW shooter then this means less to you. But I would bet if you’re a RAW + JPEG shooter and you use one of the applied film simulations you’ll be surprised how often you end up using the JPEG rather than the RAW file. With little or no tweaking in post. They’re that good.
Auto focus in low light can be sketchy. The Nikon D700 is a rock star in this area. So even as Fuji has improved upon its original X100, I find that it’s not close to the D700 regarding speed and accuracy. Maybe in a firmware update? I have no complaints about AF in good light and the manual focus in all situations is just fine. (I hear this is a vast improvement from the original.)
Flash. Oh boy, flash photography just got interesting. The Fuji X100S has a leaf shutter, as opposed to a curtain shutter. Which means it can synch with the flash at a higher shutter speed than most cameras. Like 1/1000th of a second! That’s cool, of course, but it gets better. There is a built in ND filter you can drop right in front of the sensor to give yourself three extra stops to work with. Which means you can open your aperture to f2 and get that creamy soft background while shooting outside in the mid-day harsh light. And yes, the sunlight becomes your background or fill light while your measly speedlight becomes the main light. Too cool. (non-Fuji strobes and synch cords work with this camera. In manual only, however, not TTL.)
Now, at the other end of all that… we have low light situations. The noise characteristics of this camera are wonderful. Easily usable up to ISO 6400 before you start to get too much grain/noise. And even then it’s a matter of taste. Some people like that for certain effects. But if you need clean images in seriously low light, you’ve got it with this camera.
A couple quirks and techs:
16 megapixel DX sensor, 23mm fixed lens (35mm equivalent), 6 FPS, built-in flash can be used as a commander for your speedlight.
– Can’t use flash (built-in or external) if you’re shooting in continuous drive. Which I’m OK with, but I wasn’t aware of this — didn’t see it anywhere mentioned in the manual — and so I was thinking my camera was already F-ed up on its second day. Thankfully a quick Google search got me the answer and put me at ease.
– When in macro focusing mode, you can’t use the Optical Viewfinder. Only the Electronic Viewfinder. Which makes sense, I guess. But, again, if you don’t remember you’re in that mode you’ll find yourself flipping the viewfinder selector switch again and again wondering why it won’t work. Take it out of Macro mode and all viewfinders are usable again. (Oh, did I mention it has an optical viewfinder as well as an electronic one? Yeah, so there’s that. Which is very cool.)
I could mention a couple more flaky things, but I wouldn’t want to spoil the surprise. Everybody should have their own fun quirky experiences.
As my friend Gordon Lafleur said, the learning curve is not small with the X100S, but it really is a great camera. I hope to be putting it to real world use very soon. In the meantime, I’m discovering it as I go and loving it more and more.
A few Samples:
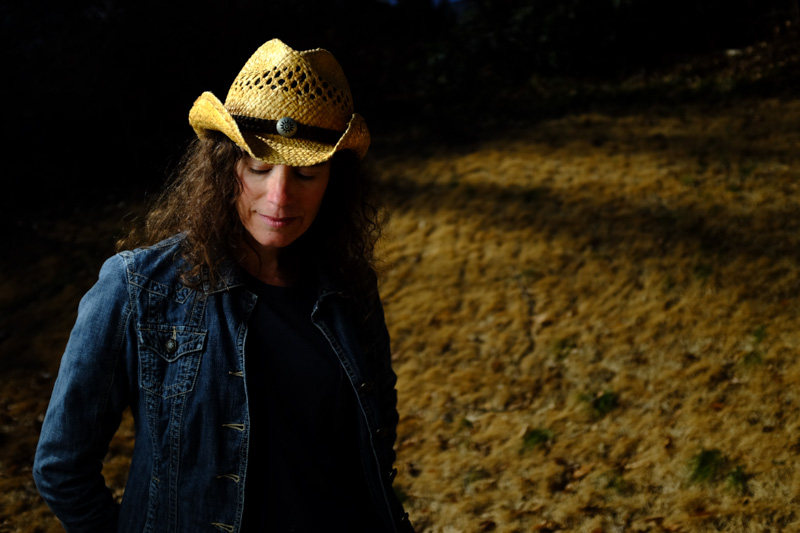
Shot mid-day at 1/1000 sec, f2 with ND filter engaged. Using a Nikon SB 800 with diffuser plate down and a shoot through umbrella. No kidding.
iphone 5, creative lighting
Trying a little “studio” lighting with the iPhone 5. The flash on the iPhone is fairly ridiculous, unless you’re going to use it in the daytime and then only as fill light. So I turn it off completely until I need it.
For this shot I used a flashlight with some tissue over the head and my old iPhone 3Gs (I brought up the “Reminders” app which has a mostly white background so it’s like a tiny softbox.). I laid the 3Gs flat in front of the tiki idol and then shined the flashlight on the back wall from underneath the stool the tiki was sitting on. Got some groovy shadows going and ended up with the photo below.
Of course, this is all for giggles. I don’t see doing this for actual paying gigs. But for the purpose of exercising that little creative corner of my brain, why the hell not?
Friday Photo Tip: Get Close
One easy way to improve your photos is to get close to your subject. Then get closer. And just when you think you’re close enough, get even closer!
Birthday parties are perfect for this. Also, parades, backyard picnics and weddings. Occasions where cameras and photographers are expected and embraced. Get out there and shoot. But no sitting across the room comfortably clicking away. You need to walk over and sit down among the screechy children or get out on the dance floor with the celebrants. If the barbecue smoke isn’t burning your eyes, you’re not close enough.
And no big, heavy, long lenses. They have their uses, yes, but creating a sense of intimacy is not one of them.
Don’t be shy. Get close.

