To filter or not to filter…

You never know when or where or why a discussion about lens filters will pop up, but one thing you can count on: Strong, long-held, unmovable opinions… for and against. “I would never put a cheap piece of glass between my high quality lens and my subject.” “You’re crazy not to take that extra step to protect your expensive high quality lens!”

When I first started out I was influenced by the “protect the lens” camp. It just made sense to take every precaution against damage to the front element of my lenses. I always used a lens hood, my lens cap (when I wasn’t losing it!) and always had a decent UV filter attached. Because, you just never know.

Later on I started to lean more towards the “nothing comes between my lens and my subject” camp. I saw big name photographers walking around with the most expensive glass in the world with no filter of any kind! Most of them were content to rely on the lens hood for protection. Up until fairly recently, I’ve remained in that camp. No cheap glass over my quality lens. I came to take for granted that if you put another piece of glass in front of the lens it’ll degrade the image, even if by just a small amount.

As mentioned above these conversations can manifest anytime, anyplace. As like the other day over at Burn Magazine. After reading a few comments, and being the scientifically minded person I am, I decided to do my own obvious experiment. Something, inexplicably, I’d never done before. Take two identical photos, under identical conditions and compare. (what a novel idea, I know!)

I made the photos. One filter on, one filter off. (BTW, I used a B+W UV filter) Brought the images into Lightroom, blew them up to 100% and… I could discern no difference. I toggled back and forth several times. First slowly then more quickly and there was just nothing that stood out. No degradation that I could tell with my own naked eyes.

When I first thought to make this post, I thought for sure I’d post the images so you the reader could download and do you’re own comparison. But now I honestly think it’s best that if you want to know for sure, if you really want to challenge your own current thinking, you should do you’re own experiment. It’s easy and costs nothing. Now, there are good quality and not so good quality filters out there. So that has to be a consideration.

Personally, I still think I’ll use filters sparingly. When on a job site (with lots of dirt) or at the beach with sand and salt blowing around, I’ll keep the UV filter attached. There is the issue of flare, but that’s easily seen when it’s happening and you can just remove the filter. Or, as some do, take advantage of it for effect.

The UV filter has its uses, for sure.

But if you decide go the route of the purists (no filter ever!) you’d be wise to at least use the lens hood, and if you can keep from losing it, your lens cap as well. Except when you’re shooting, of course. 🙂

 

Looking through a B+W UV filter.

A good quality UV filter? Not a bad idea.

Friday Photo Tip: Fill Flash

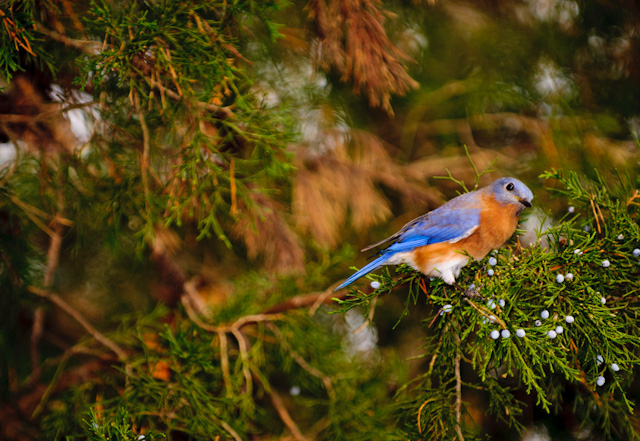
Eastern bluebird. 

Don’t be afraid to fish out the flash from your camera bag when shooting in nature. Too often a strobe is used only for lighting up people in dark situations.

Nature should look natural, but that doesn’t mean we can’t enhance it a bit. And that’s what fill flash does. If you want to get those natural colors to really pop and if you want to see a little catch light in the creature’s eye, just throw a little light in there. Makes a world of difference.

I like to expose for the scene and then dial down the flash about a stop and a half. Maybe two stops. Experiment.

Dialing down the flash keeps it from blowing out the scene; keeps it more natural looking.

A male eastern bluebird at the C & O Canal in Maryland.

A male eastern bluebird at the C & O Canal in Maryland.


Friday Photo Tip: “Just take the Picture.”

Todays Friday Photo Tip is something from my friend and mentor David Alan Harvey.

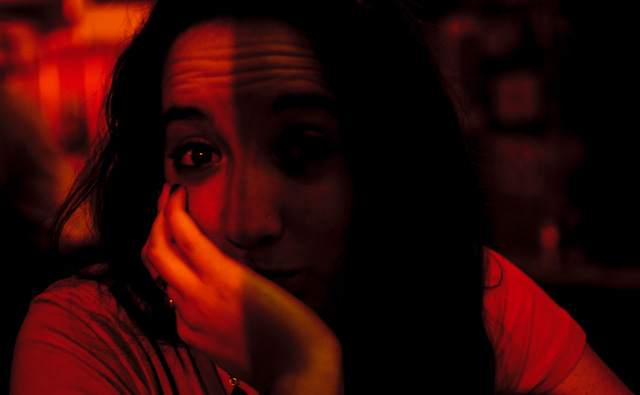
“When the perfect picture situation happens, you may not have time to worry about perfect exposure and f-stop. Just take the picture. Don’t be afraid to experiment — especially in dark locations where you cannot use a tripod or flash. Brace your elbows on a table, lean against a telephone pole, or rest the camera on a fence post or a Coke bottle.”

woman in low light, very dark

Jessica in very low light.

Friday Photo Tip: Composition

Separation. Balance. A sense of ease.

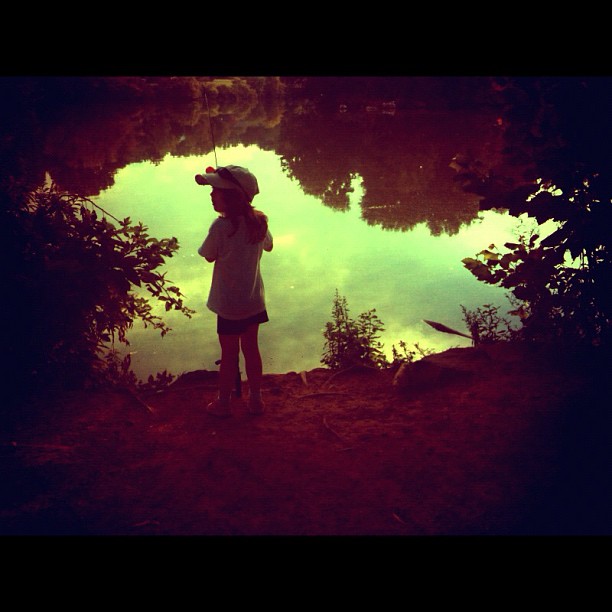
I never set out to find it, but every now and then it reveals itself. I’ll walk around for hours, just watching; being an observer. Shooting a little here and there. Feeling things out.

If I find an interesting scene I’ll stop and take a look through the view finder. I don’t start shooting right away, either. Patience, I tell myself. Let the scene sink in. Try to grasp what’s there; what belongs, what doesn’t. If I shift myself or the camera a few inches an OK composition can morph into a good composition.

And you don’t so much see it as you do feel it. When everything falls into place there is a great sense of relief. Even exhilaration. That’s when you shoot.

Be patient. Look at the scene. Really  look at it. There’s a good composition in there somewhere.

girl-fishing-lake-0001


Friday Photo Tip: Inclement Weather

The forecast calls for rain? Very good. Now go out there and shoot.

An atmosphere of gloom. A sense of sullenness… but in a good way! This is what comes with lousy weather. No matter if it’s sleet, rain, snow or fog. There are shots to be made, moods to capture.

Yes, keep your camera as clean and dry as you can — that shower cap from the hotel’s bathroom makes an excellent rain coat for the camera… or maybe shoot from under an awning or from the car window — but do get out there and make some photographs. They’re everywhere.

A foggy morning on Mount Tamalpais.

A foggy morning on Mount Tamalpais in northern California.

Stinson Beach in The Rain

A couple takes a walk on the beach in the rain. Stinson Beach, California.


Friday Photo Tip: “Keep the Sun Over Your Shoulder.”

This is a wonderful, timeless lesson. That high school photography teacher (who also happened to be the basketball coach) really knew his stuff.

I mean, really, think about it. With the sun behind you everything in front of you is so fully and flatly lit. You can see it all. No annoying shadows adding drama or depth. No highlights in the model’s hair. And with family portraits you get the added benefit of squinting eyes! What’s not to love?

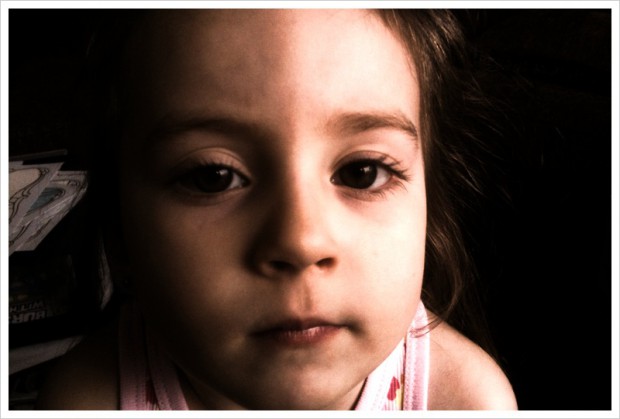
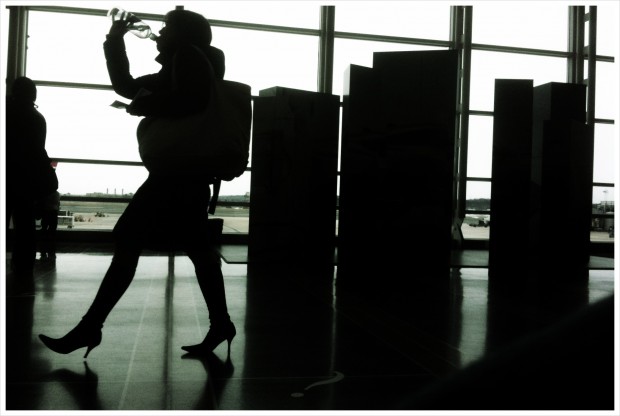
And don’t even get me started on silhouettes or soft window light!

little girl with window light.

Window light #1

woman drinking water at national airport, whashington DC

Window light #2